Using WordPress as a CMS (content management system) is a fantastic way to get your blogs out. If you have tons of content piled up and ready to schedule them all at once, then follow these easy steps to bulk-schedule posts on WordPress. You will have to install a plugin, but trust me, this makes scheduling all of your blogs much easier than doing them one by one.
Why should you bulk schedule posts?
You might want to consider bulk-scheduling your posts for several reasons.
But the most significant reason is that it can save you a lot of time. If you know you want to post three times a day but don’t have the time to do it all at once, try scheduling your posts ahead of time. This way, you can take care of everything in one sitting and not have to worry about it throughout the day.
You can also save drafts of your posts and come back to them later, which is great for when you get an idea but don’t have time to write it out fully right then and there. This happens to me all the time. I’ll be in the middle of doing something else when, suddenly, an amazing story idea will come to me. But if I don’t write it down immediately, I’ll forget it.
What are the benefits of bulk scheduling posts?
When you bulk schedule your posts, you can sit down and plan out your content for the week or month in one sitting. This means that you don’t have to worry about creating new content every day. This can save you a lot of time and energy that you can put towards other important tasks. Additionally, it can help to keep your audience and readers engaged and interested in what you have to say. So if you’re ready, let’s get started.
How to bulk schedule posts on WordPress
You can bulk schedule posts on WordPress in a few different ways. One option (which we’ll talk about here) is to use a plugin like Auto Post Scheduler.
Auto Post Scheduler is a WordPress plugin that automatically publishes drafts and/or reuses old posts as new ones. You don’t have to schedule each draft separately, and reusing old posts keeps your site looking new. When importing a lot of posts, it’s especially helpful to be able to import them as drafts and have the Auto Post Scheduler publish them on a schedule you choose.
Download the Auto Post Scheduler Plugin
You can grab Auto Post Scheduler with the latest updates.
Add Auto Post Scheduler Plugin
So what you want to do is make sure that you’re in your WordPress dashboard.
- Open WordPress.
- Make sure that you’re on your WordPress dashboard.
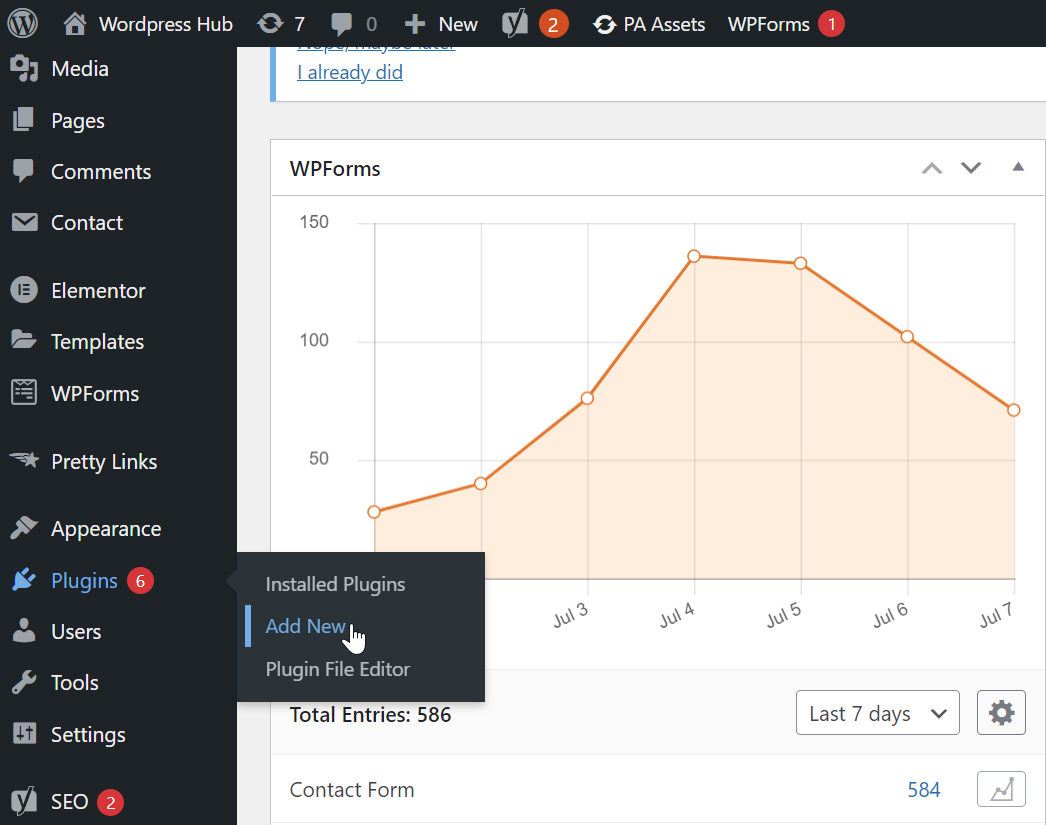
- Go to the left-hand side where it says “plugins.”
- Under that, there should be a tab that says “add new.” Go ahead and click on that.
5. Look for the auto-post scheduler plugin. This is the one we want.
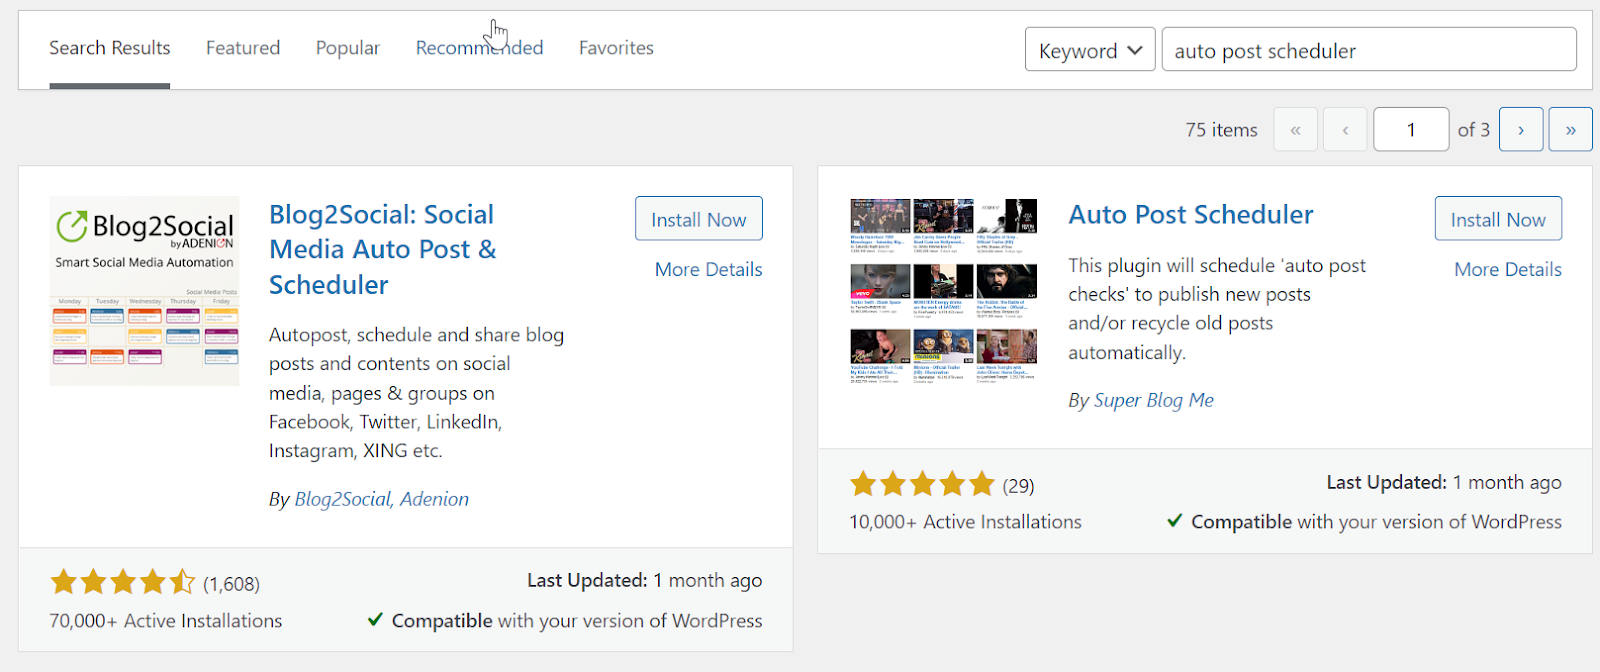
- Once you find it, click “Install Now.”
- After it’s installed, click “activate.”

Access Auto Post Scheduler
Now that’s activated, you can either:
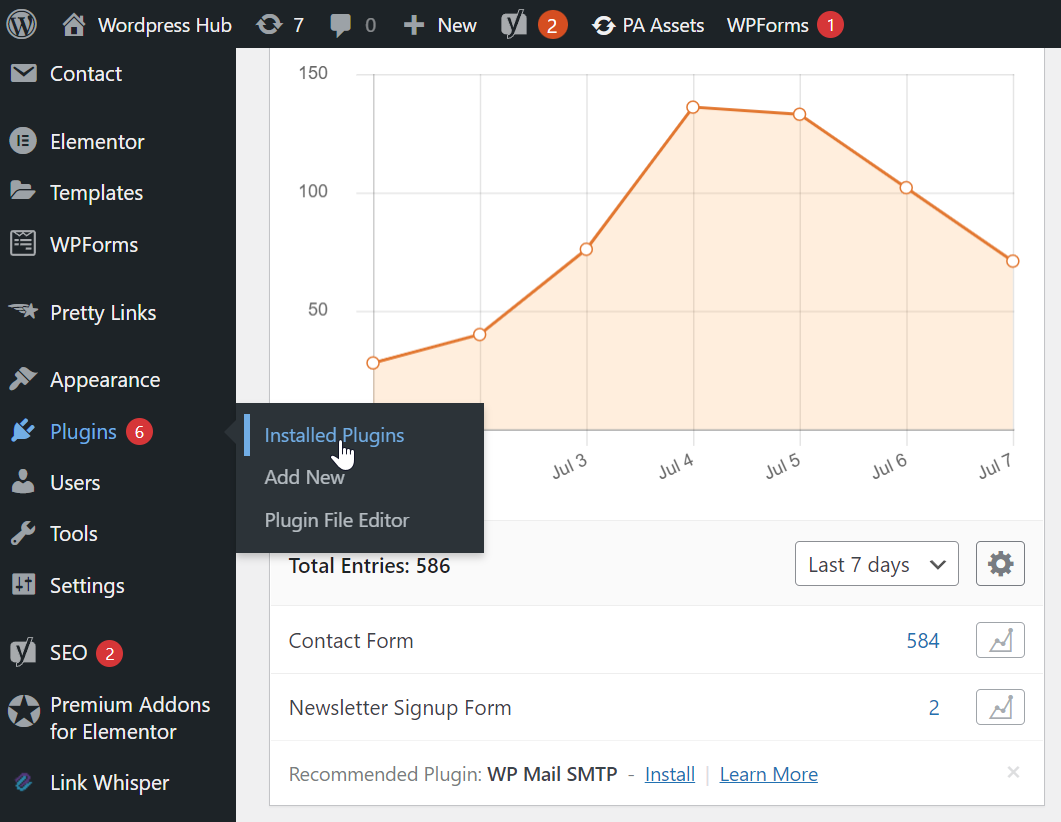
1. Click on the “Plugins” link in the left-hand sidebar of your WordPress site and click on “Installed Plugins”.
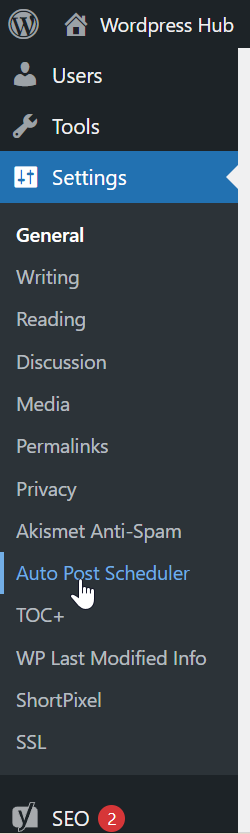
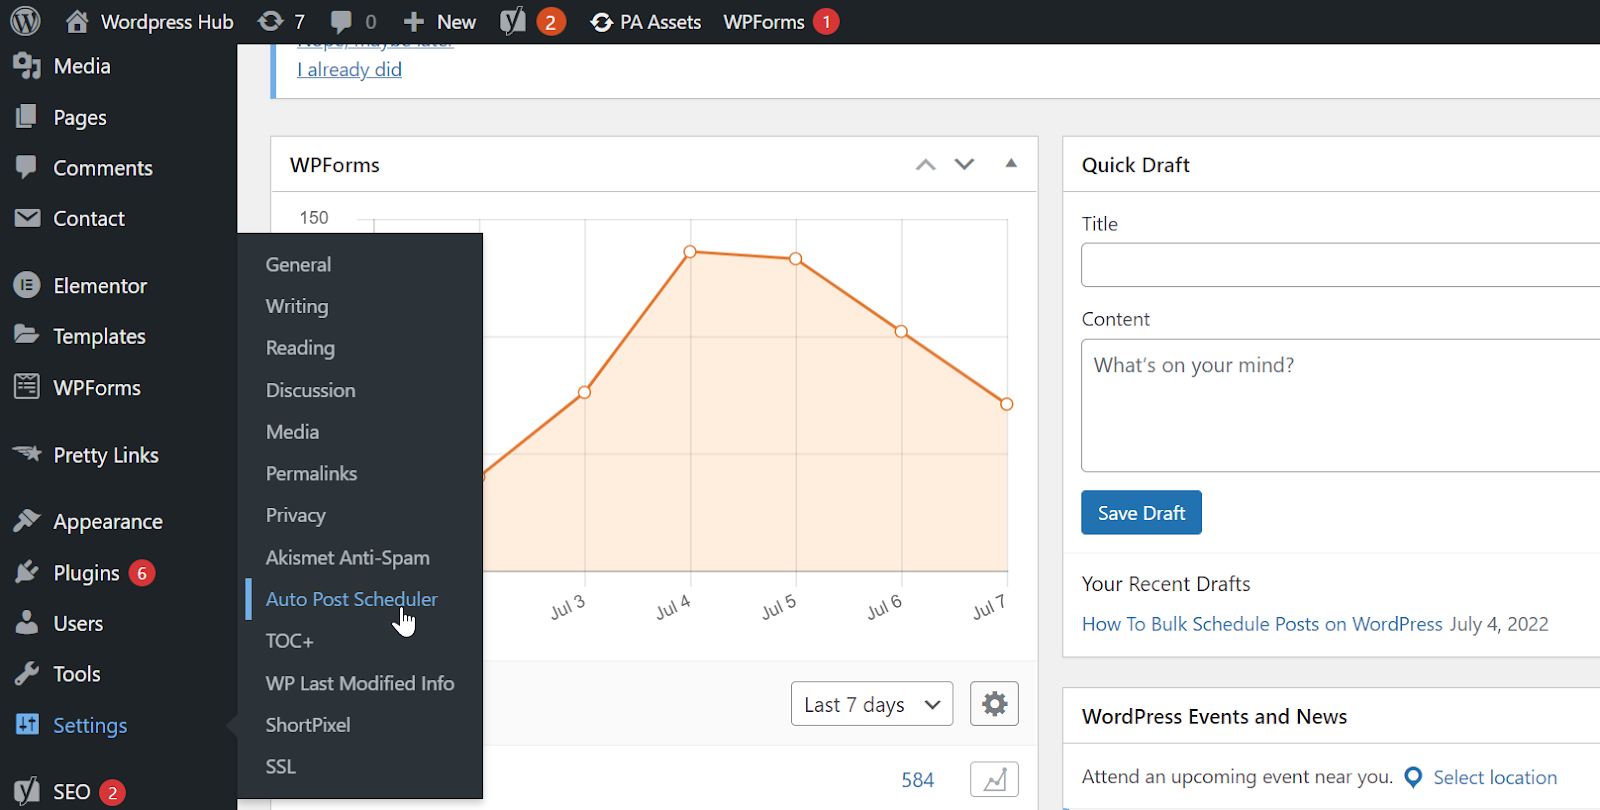
2. Hover on the “Settings” link in the left-hand sidebar of your WordPress site and click on the “Auto Post Scheduler” link that appears in the drop-down menu.
3. You can also do the following;
- simply go from your dashboard
- down to settings
- auto post scheduler to configure
Scheduling your posts: Customizing the settings/options
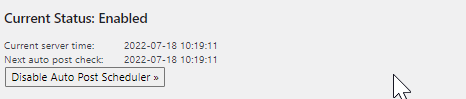
You see, right now it’s disabled, so, we’ll want to enable it.
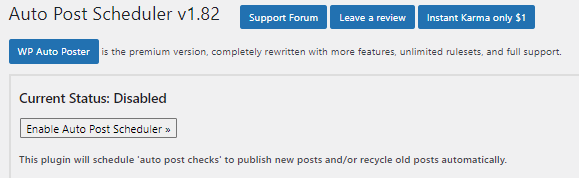
As you can see, the plugin is currently disabled. However, there are several settings that we must first change before we can enable the plugin
Auto Post Schedule
This is where you can change the time or time range between each auto post.
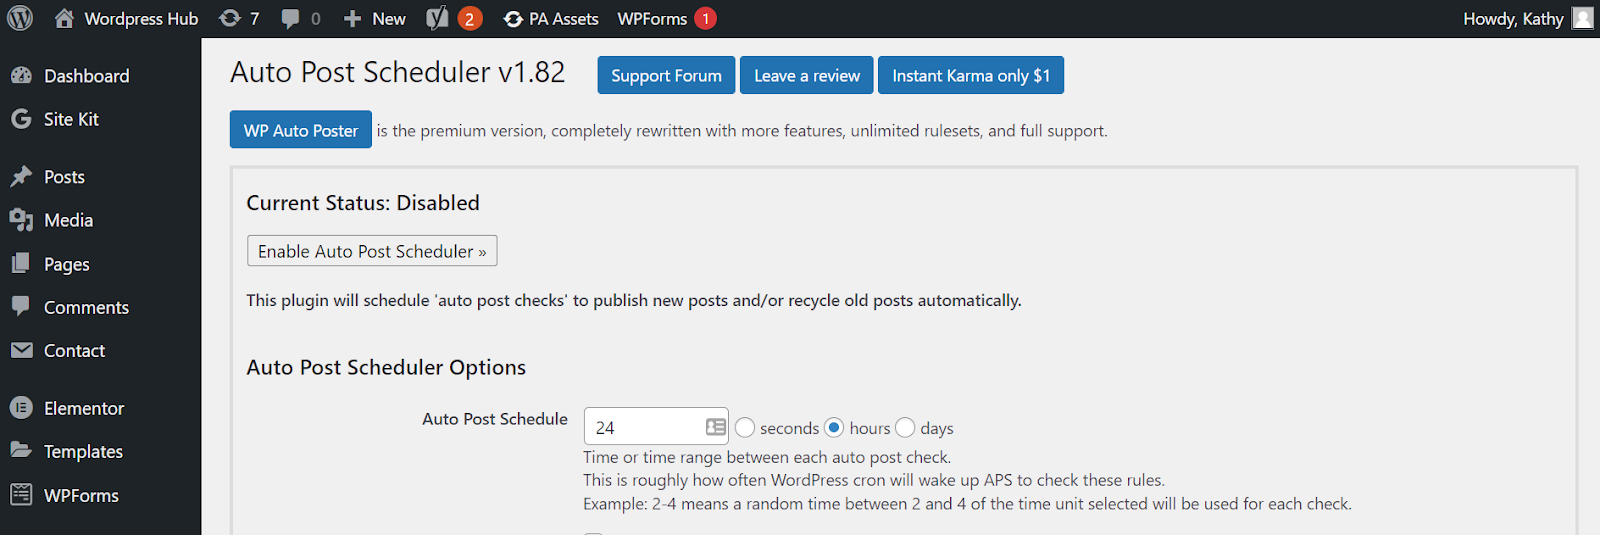
By default, a new post is scheduled every 24 hours. You can choose to schedule your posts in seconds, hours, or days. If you want it twice a day, you should schedule it every 12 hours

Restart on Publish
If checked, restart on publish will republish prior blog entries.

It also refreshes your past postings and makes them seem like they were recently published.
If you want to do so, you may check the box.
Start Scheduling Delay
When you have enabled the scheduler, you can also set a time delay before the first post is published.

You may do so by setting the time in seconds, hours, or days of delay. You may do so by clicking on either of the choices above.
The schedule delay will be initiated when we put it up with a new date. Right now, if you clicked “enable,” it would instantly start publishing. If you wanted to put this off for a couple of hours, you might say the first one shouldn’t go out until after two hours.
Limit Check
The section below contains the items that you want to limit the settings on. These can either be posts, categories, or authors.
You might also restrict your search to only a certain category. The categories for which you wish to schedule. You may also restrict it to writers or people managing your websites. You may also be able to schedule something for a certain author.
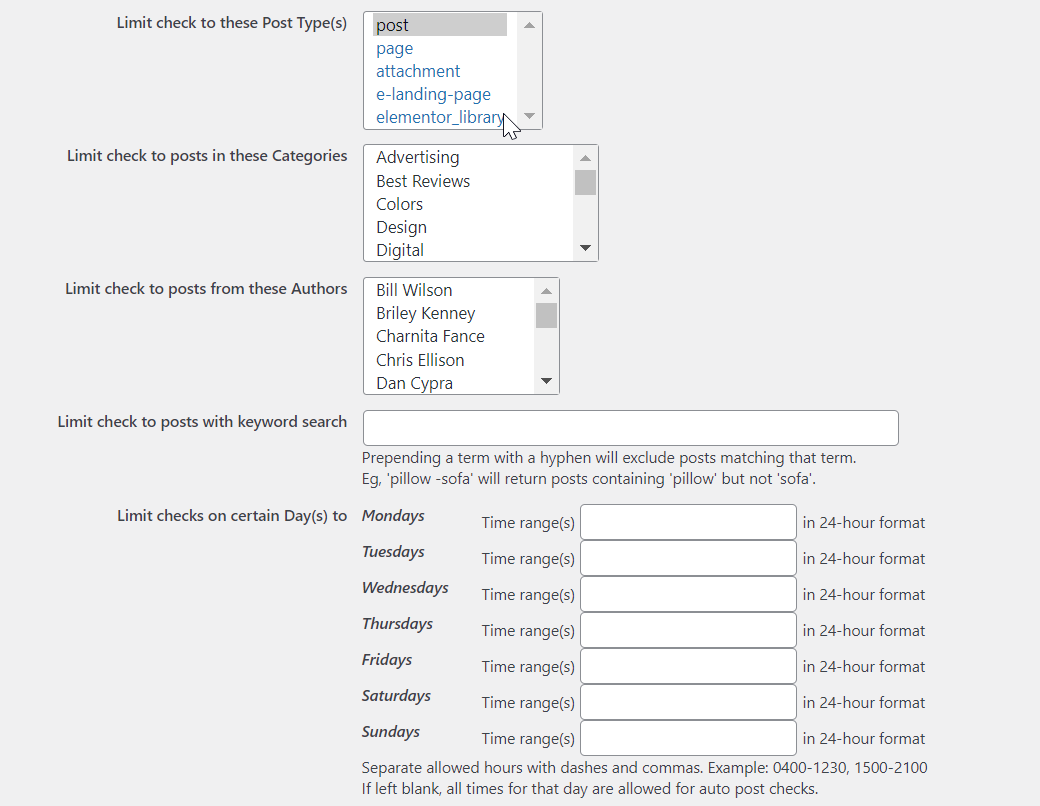
If you have certain keywords you’d like to limit, you can put them in the space next to “Limit check to posts with the keyword search”.

If you want to limit checks on certain days, you may do it here.
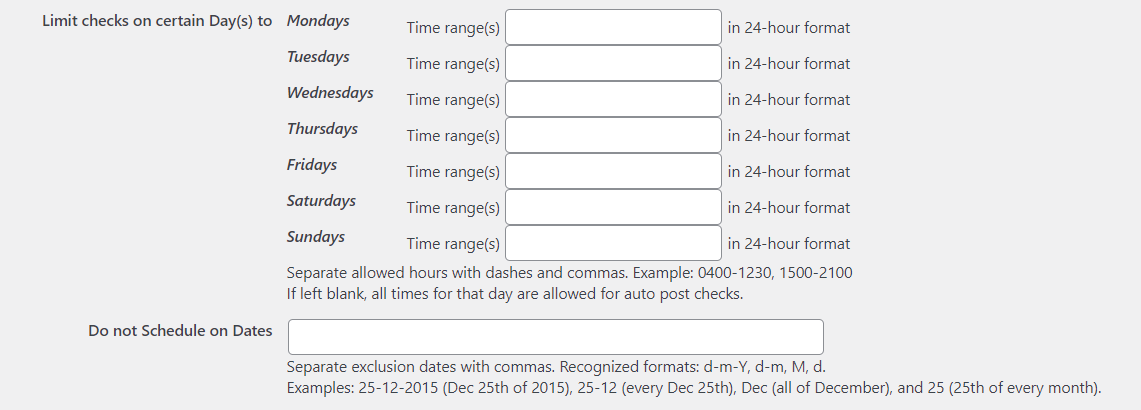
You may set the hours of certain days when you want to limit the auto post checks. You may specify the time frames here if you want to stick to a certain schedule. For instance, if Mondays are the only days you want to publish, you may provide a time frame for that, such as “On Mondays, we only want to post between 9:00 a.m. and 5:00 p.m.” This will guarantee that our content is viewed by the greatest number of people. This is excellent if your blog will only be updated from Monday through Friday.
Do not Schedule on Dates
One of the great features of this plugin is that it allows dates to be blocked if you wish not to post on a certain date. “Do not Schedule on Dates” is to limit auto posting on holidays or any specific day that you don’t want to auto-post. To be able to do that, the date format should be dd-mm-yyyy. So if you don’t want to schedule a post on December 25, 2022, you should put 25-12-2022. It will take care of things for you if you just enter the date in that manner. On that specific day, nothing will be scheduled.

Eligible Post Statuses
If you have a blogging editorial flow where you go from draft to pending, Eligible Post Statuses are ideal. Additionally, you may choose which ones you wish the scheduler to exclude. It’s ideal if it’s still pending.

Then it will search for all of the unscheduled postings and only schedule them. Drafts that you are still formatting editorially may be kept or sent to an editor for review. Therefore, it is a perfect example of identifying posts that are ready to publish.
There are a few more easy options that you could choose from, but for now, let’s stick to that and let’s click update options.
Enable Auto Post Scheduler
You can now click enable Auto Post Scheduler.
After that, you’ll need to go into your posts and choose the ones that are prepared. We will go through our drafts to identify those that are ready to be used, update them, and mark them as pending.
This is a very fast and simple approach to mass schedule articles in WordPress.
Conclusion
The bottom line is that WordPress offers powerful, unique bulk scheduling method/methods. These can be used by any blogger, even those on a tight budget—all it takes is a bit of research and some trial and error. This allows bloggers to continue to interact with their readers in the way they want and ensures that they never fall behind schedule on their future posts.
Be sure to follow the steps and subscribe to our YouTube Channel for WordPress tutorials.
